


Designing Client Spaces With Wall-Mounted Planters: Tips for Placement, Installation, and Care

Views: 6,275Share This:


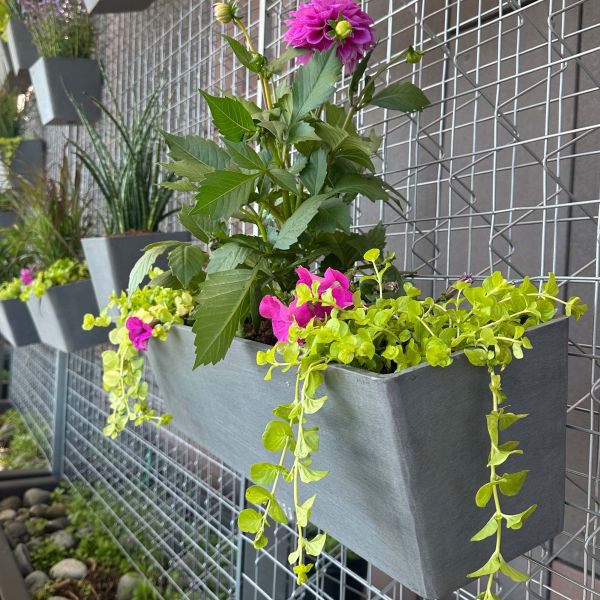
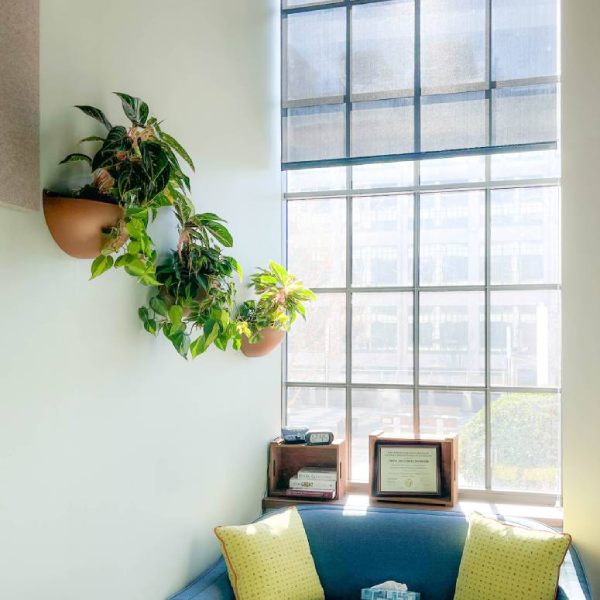
Are you looking to bring a little excitement to your next plantscaping project? Wall-mounted planters offer a creative way to transform blank walls into living features that impress clients and enhance their space. Whether you’re working with a long, empty hallway, a bare office wall, or a client’s logo they’d like to highlight, indoor wall planters can help turn overlooked areas into focal points.
Beyond aesthetics, one of the most valuable aspects of wall-mounted planters is how they save floor space while introducing a sense of calm and wellness, even in the busiest, high-traffic areas. We all long for nature, and bringing greenery to eye level is a quiet reminder of its resilience and beauty, sending a subtle yet powerful message: “This is a place where people—and plants—flourish.”
3 Things to Consider Before Installing Wall-Mounted Planters
A well-placed wall-mounted planter can, without a doubt, transform a space, but success starts with thoughtful planning. Considering the purpose, placement, and preparation ahead of time helps ensure your installation looks incredible and continues to thrive and perform for years to come.
Purpose
- Showcase large plant designs without taking up valuable floor space.
- Create an aesthetically pleasing indoor environment to boost mood, focus, and productivity.
- Help reduce noise, improve air quality, and support energy efficiency.
- Add visual interest and/or draw attention to a diploma, work of art, or logo.
Placement
- Study foot traffic to identify locations where wall-mounted planters will have the most visual impact.
- Install on sturdy surfaces such as drywall, plaster, or stucco.
- Consider light requirements for your plants. While natural light is ideal, plants near south-facing windows may need shading in winter to prevent over-drying. In spaces with limited sunlight, some plants can still grow beautifully under LED fixtures.
- Keep planters away from heating and cooling vents to avoid damage from drafts.
- Determine the plant’s mature size and growth habit—trailing versus upright—before finalizing placement.
Preparation
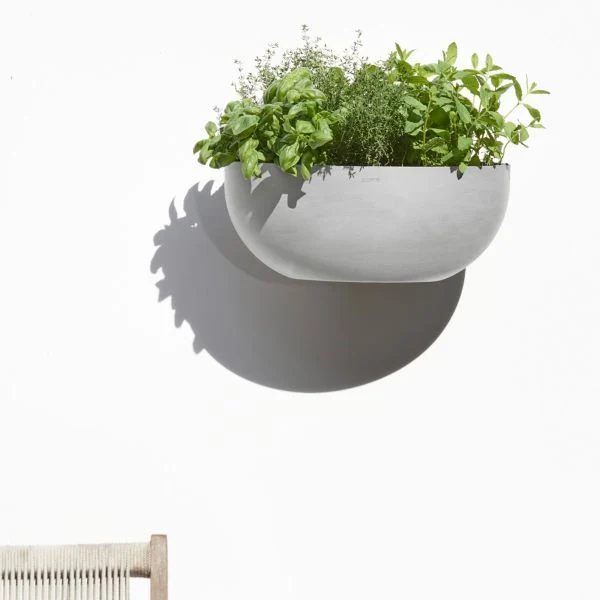
- Select plants suited for wall planters. Pothos and philodendrons are great for creating beautiful trailing displays, while pink aglaonemas add height and thrive thanks to their strong root systems.
- Gather all necessary tools and materials before starting the installation.
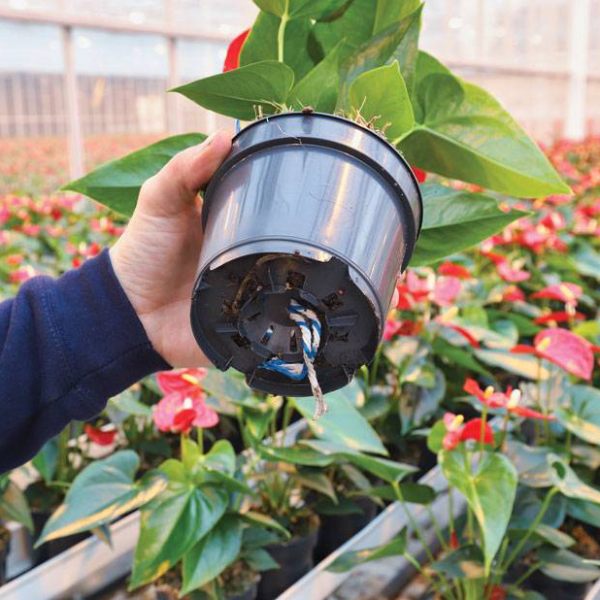
- Prepare plants at least a week in advance by placing them in grow pots with a wick threaded through the drainage holes so it extends to the bottom of the planter (unless you’re using a direct-plant option).
- For multiple planters, decide on a layout. Groupings of three are very pleasing to the eye.
- If working in a commercial space, confirm with management that drilling is permitted and safe, especially near electrical outlets or switches.
Tools and Materials for Installation
Before you begin, gather all the tools and materials you’ll need. Having everything on hand makes installation smoother and helps ensure your wall-mounted planters are perfectly placed from the start.
- Measuring tape
- Pencil
- Drill
- Level
- Hammer
- Plants with wicks in grow pots (unless direct-planting)
- Wall-mounted planters (including all necessary mounting hardware)
- Water
- Hand broom
5-Step Process for Hanging Wall-Mounted Planters
Installing wall-mounted planters is a straightforward process, but taking the time to get each step right ensures a secure fit and a polished look. Whether you’re working with a single planter or creating a grouping, follow these steps for a lasting installation.
1. Measure for Placement
Measure and mark the exact height and spacing for your planter or group of planters, taking into account furniture, artwork, etc. Step back to assess the placement and make any adjustments before drilling—measure twice, drill once!
2. Level and Mark Drill Points
Hold the planter or mounting bracket against the wall, place a level on top, and mark the drill points once everything is straight. Double-check the alignment, especially if you’re hanging multiple planters in a row or cluster.
3. Drill Holes
Follow the manufacturer’s guidelines for drill bit size and placement. To keep your workspace clean when drilling, use part of the planter’s packaging or another barrier to catch drywall dust.
4. Secure Mounting Hardware
Attach the planter to the wall using the appropriate hardware for its design. This may involve installing drywall anchors and screws directly or securing a hidden bracket system before hanging the planter in place.
5. Place and Arrange Plants
Position your plants in the planter, holding a paper towel underneath to catch any drips from the wicks, which should be thoroughly moistened before installation. Adjust the foliage so it sits evenly and creates the desired visual effect.
Plant Care
Fill the planter’s reservoir with enough water so the wick is submerged but the pot is not floating. (If planting directly, water the soil evenly until it’s lightly moist.) Wipe each leaf and stem clean, then finish with a touch of leaf shine for a healthy, natural look. Check the planters every three days to ensure the wicks are drawing water as they should. Once you know the plants are getting consistent moisture, they can easily make it through a 9–10 day maintenance rotation.
The Lasting Appeal of Vertical Plant Displays
Wall-mounted planters are more than just a space-saving solution—they’re a design feature that can transform blank walls into living works of art. With thoughtful planning, the right placement, and proper care, they offer long-lasting beauty in both residential and commercial spaces. Whether you’re looking to add a single focal point or create a striking wall display, these planters bring nature into view in a way that’s both functional and unforgettable.
Views: 6,275Share:

I'm Kari, the President of Green Scenes Indoor Landscaping. I attended Appalachian State University and graduated with a BS in Communication Arts. After working in restaurant management, we married and built a greenhouse in our backyard. In 1995 my husband Jim and I started Green Scenes with one client and a dream. Over the years we have been blessed to grow from waiting tables and bartending at night after working all day to a full time business. Today, our two children Clare and James also pitch in to help in with holiday decor, sales and maintenance. Our newest venture is Peddling Plants which sells the finest houseplants to the public outdoors.

You May Also Like


Leave a Reply
You must be logged in to post a comment.

